Leather is a fascinating and versatile material which every sewist should know how to handle. Whether you are making a leather bag, a purse, a jacket or a belt, or even working on a larger upholstery piece, using leather will add a real touch of class to your project. And best of all it is always in fashion. A truly timeless material!
But the things that make leather unique also make it a notoriously difficult to work with.
I have put this guide together as an introduction to sewing with leather, and have a few recommendations for the best sewing machine for leather upholstery which can easily handle leather. With this insider knowledge and the right tools for the job, working with leather will be a lot of fun!
My Recommendations for the Best Sewing Machine for Leather Upholstery
| Preview | 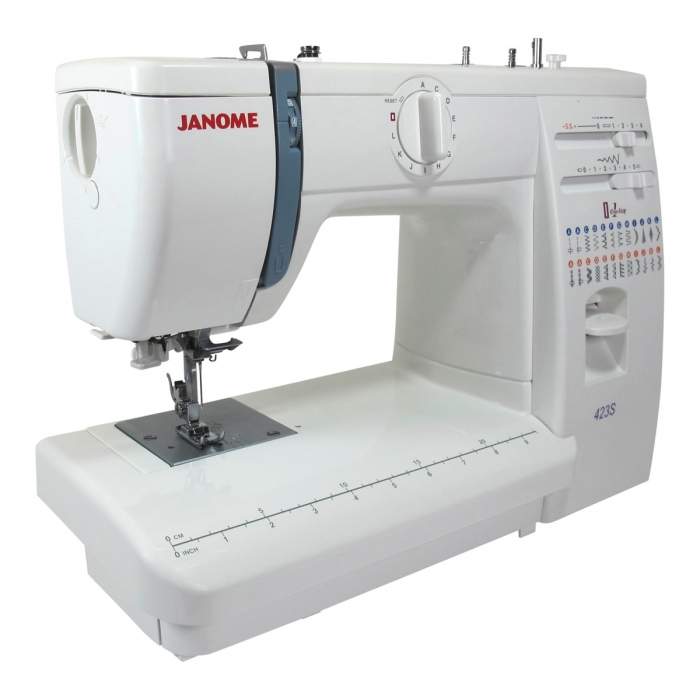 | 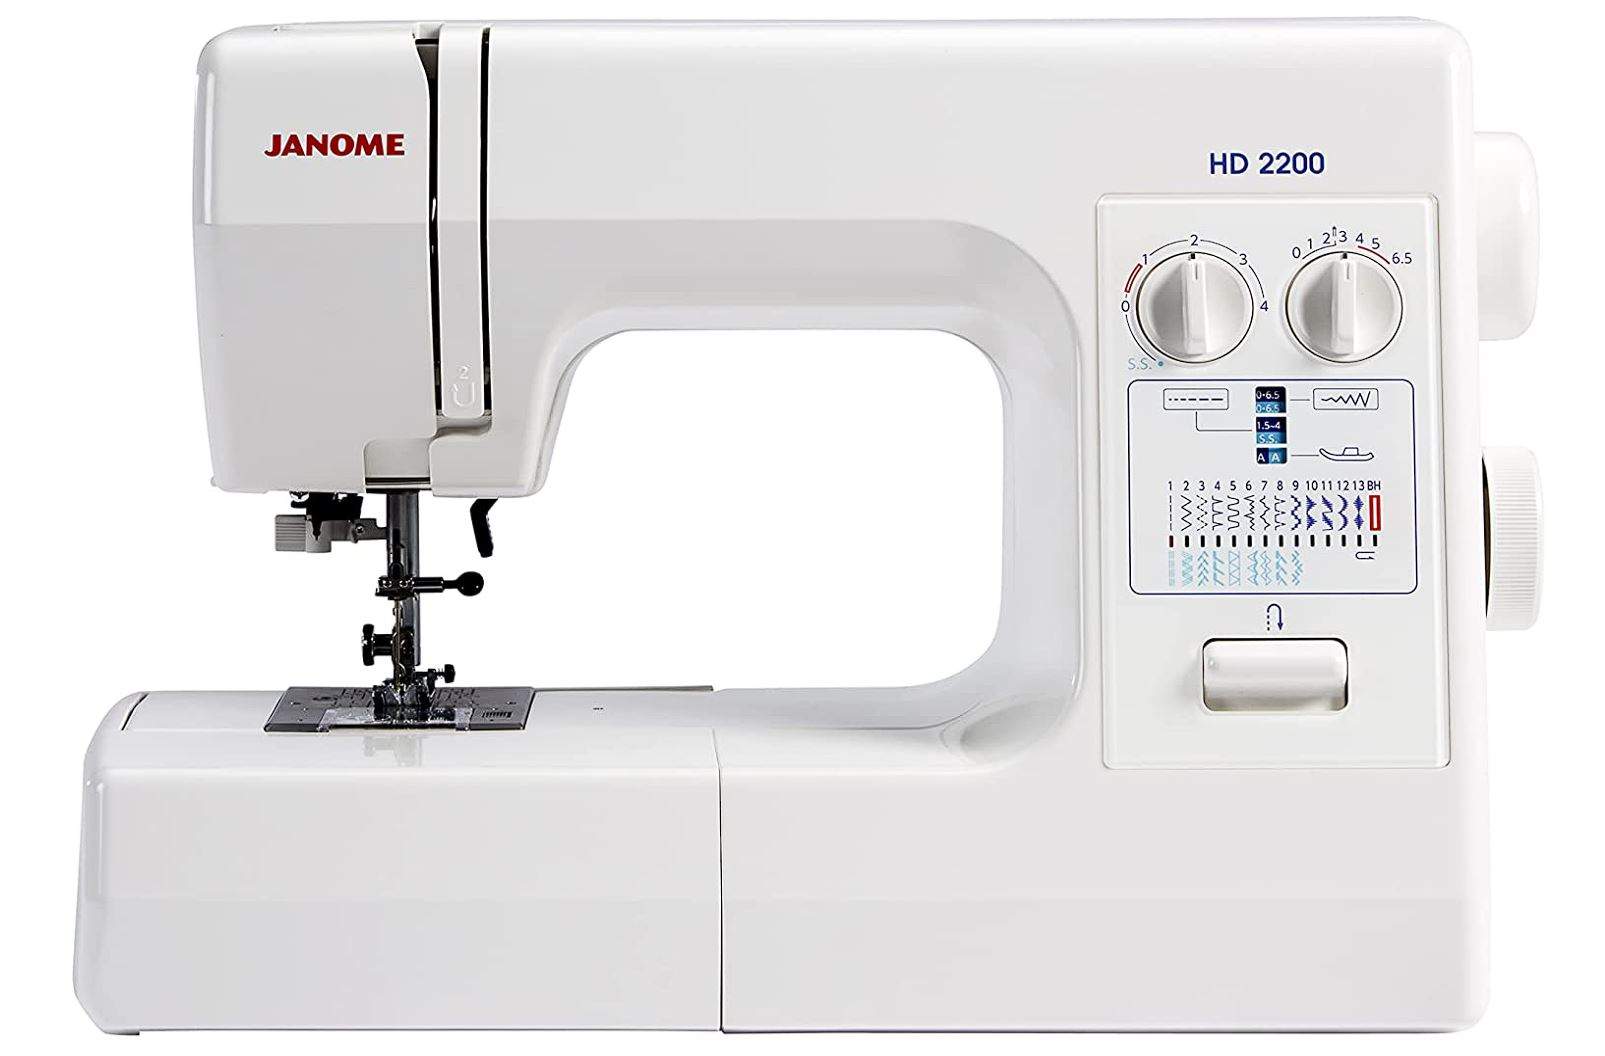 | 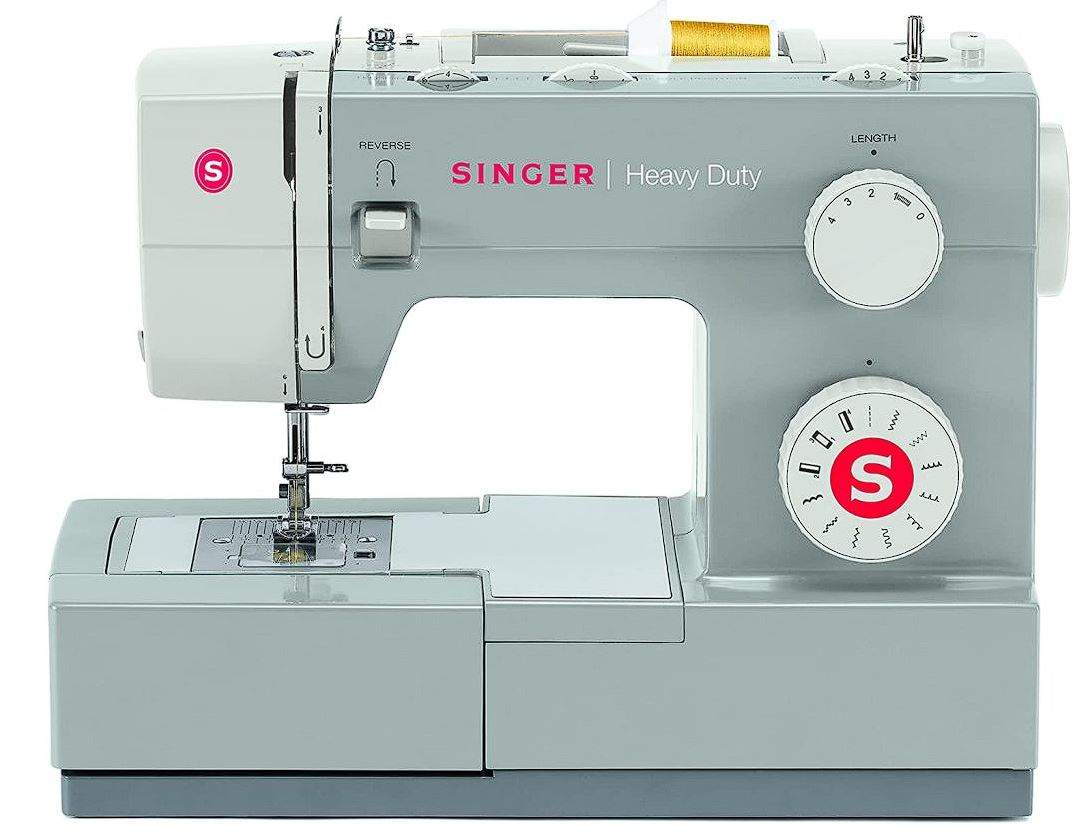 | 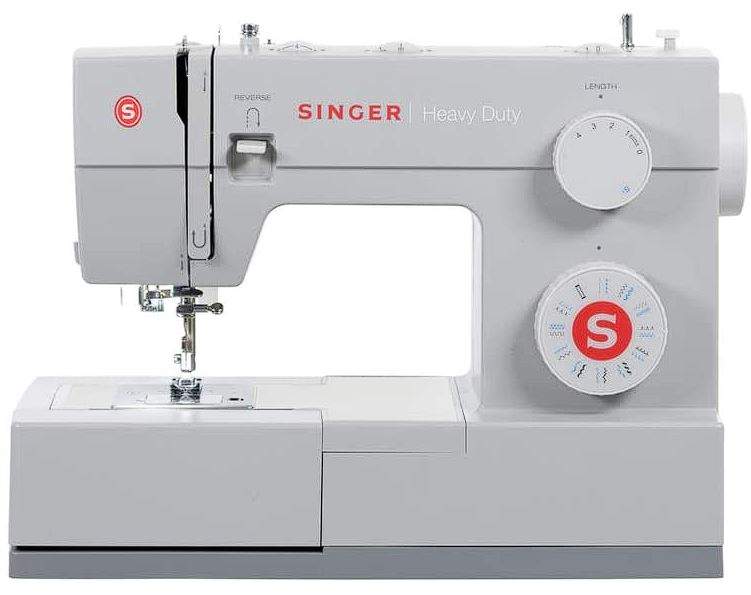 |
|---|---|---|---|---|
| Model | Janome 423S Sewing Machine | Janome HD2200 Sewing Machine | Singer 4411 Heavy Duty Sewing Machine | Singer Heavy Duty 4423 Sewing Machine |
| Stitches | 23 | 22 | 11 | 23 |
| Needle Threader | ✔️ | ✔️ | ✔️ | ✔️ |
| Presser Feet Included | All Purpose Foot, Buttonhole Foot, Zipper Foot, Hemmer Foot | All-Purpose Foot, Buttonhole Foot, Zipper Foot, Blind Hem Stitch Foot, Auto Sliding Buttonhole Foot, Satin Stitch Foot, Overedge Foot | All Purpose Foot, Buttonhole Foot, Zipper Foot, Button Sewing Foot | All Purpose Foot, Buttonhole Foot, Zipper Foot, Button Sewing Foot |
| Price |
Why is Sewing with Leather Different?
Working with leather is quite different to working with most fabrics. This makes it a fun and exciting material, but also means it comes with a number of challenges. Here are a few of leather’s unique characteristics:
- Structure – Leather isn’t made up of a network of fibres like fabrics are. It has a dense structure. This has implications for how it is used. The most important thing to note when working with leather is that unlike most fabrics, piercing leather with a needle leaves a permanent and visible mark in the material. On a more positive note, it also means no frayed ends!
- Size – Leather can be quite thick – it typically has a thickness between 1mm and 3mm. A full leather hide is the largest single piece of leather you can get (limited by the size of the animal it came from!). Check out this resource for more information on leather sizes and weights.
- Natural Product – Real leather is a natural product made from animal hides, and as such will contain imperfections and blemishes. Although these can add charm to your project, you will probably want to hide unsightly blemishes. This means you will need to plan ahead when cutting your material.
- Friction – Leather has a sticky feel to it which can make it difficult to feed evenly through your sewing machine.
- Cost – Leather is very expensive. A full hide could cost upwards of £100. This means that you need to plan well before you start sewing.
Faux leather can be a good substitute for real leather in some cases. It is generally cheaper and easier to clean than real leather, and is blemish-free. But it is also likely to be less durable, and you simply can’t beat a product made from real leather. The amazing smell of real leather is another selling point!
Choosing a Suitable Sewing Machine
It is well known that most household sewing machines aren’t powerful enough to take on leather. You will be left with many broken needles and skipped stitches, and you might even damage your machine in the process.
Industrial sewing machines are without question the best option when it comes to leather. They provide the required power and stability to get perfect stitches every time. But we all know that industrial machines are expensive, and it tends to be impractical to have one in your home.
This is why heavy duty domestic sewing machines are the perfect compromise. They are powerful enough to take on thin and medium weight leathers, they don’t take up too much space, and they remain very affordable.
What You Need for Working with Leather
Here is a quick checklist of what to look for when choosing a heavy duty sewing machine for projects involving leather:
- Powerful Motor – A powerful motor is essential to get through multiple layers of leather. Most domestic computerised machines these days are lightweight and do not have very powerful motors, so I would always recommend a mechanical machine for working with leather. Mechanical machines tend to pack that extra punch.
- Sturdy Machine – Avoid lightweight plastic machines. These will jump about and you may end up ruining a lot of leather. Look for heavy machines which have metal frames. These are normally very stable and durable.
- Leather Needles – Using needles suitable for leather work is crucial for getting good results. More about this later.
- Suitable Presser Feet – Making sure you are using the most suitable presser feet will really help you deal with the stickiness of leather. I have a separate section on presser feet further down, as a wise choice of presser foot will make the world of difference.
- Suitable Thread – Lightweight thread won’t do the job. I normally recommend using good quality Nylon thread which is relatively thick when working with leather. Definitely experiment using scraps and different types of thread before starting your project in earnest.
The following two options are also nice to have:
- Adjustable Presser Foot Pressure – Being able to adjust the presser foot pressure can help you get a perfect feed through the machine.
- High Presser Foot Lift – Having a high presser foot lift will allow you to get a few extra layers under the foot.
More About Leather Needles
I’ve said it before but it really can’t be repeated too often – making sure you’re using the right needles is step 1 when getting set up for a project. This is particularly true when working with leather!
The reason for this is quite simple – when a needle passes through woven and knitted fabrics it doesn’t normally cut directly through the fabric. Rather it pushes the strands or yarns of the fabric to either side to find a way through. Needles with a spear point or ball point are suitable for this.
Leather isn’t made up of individual strands, and so the needle will need to slice directly through the material. The cutting point on leather needles is designed specifically for this purpose. This type of needle point is called wedge point.
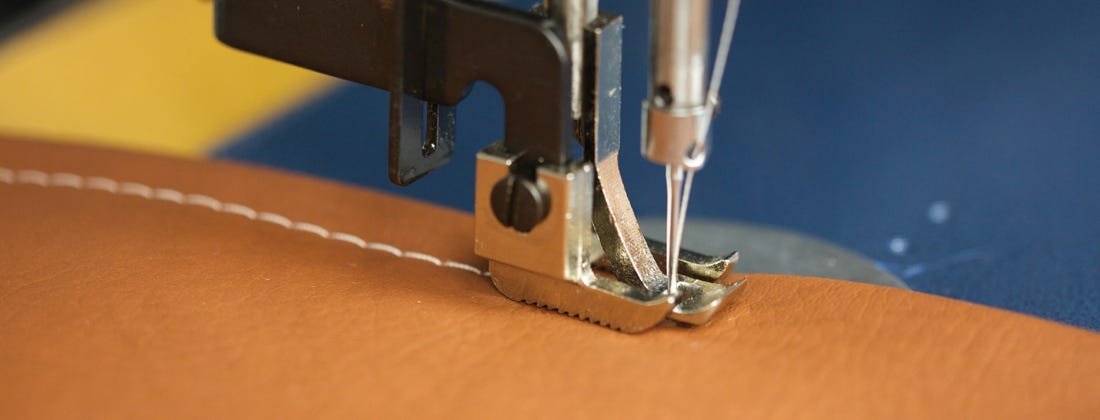
Your standard needle will break in no time when up against a thick piece of leather, but a leather needle will slice through without trouble. Keep an eye on your needle as you go though – you may need to change it more frequently than you are used to.
You will also need to think about the size of your leather needle. Usually a size 90/14 or 100/16 will be suitable. But remember that any hole the needle makes is permanent. For this reason you want to make sure you don’t use a needle which is too large.
For more detail about choosing a needle, have a read of my guide to sewing machine needles.
Choosing the Right Presser Foot
Leather tends to have a sticky feel to it. Friction between the leather and the presser foot and needle plate can make it hard to get it to feed smoothly through the sewing machine, which is essential to get nice even stitches. Choosing the presser foot you use carefully will save you a lot of heartache. Here are some presser feet which are likely to come in handy when using leather:
- Teflon/Silicone/Non-Stick Presser Foot – A non-stick foot has a slippery surface which will help feed the sticky leather through. Best of all, they are incredibly cheap.
- Roller Presser Foot – The roller presser foot works in a similar way to the non-stick foot. It has built-in textured rollers which will help feed the leather through the machine. This foot is always a great option when working with fabrics that are difficult to feed.
- Walking Foot – If you have a lot of layers and need that extra bit of help getting the leather fed through, a walking foot is essential. It will help drag the layers of leather through the machine seamlessly.
Quite a few people have told me that in a bind you can stick a piece of Sellotape to the bottom of your all-purpose foot to avoid the leather sticking. I haven’t tried it myself, but I like the idea! Let me know in the comments if it works.
If you are new to sewing and are a bit lost, I talk more about different types of presser feet in my beginner’s guide to sewing machines.
Projects To Get You Started
If you’ve never worked with leather before one of the best ways to get used to working with it is to start by following a simple tutorial. Those of you who are interested in leather upholstery should take a look at my guide to sewing machines for upholstery.
Recommended Heavy Duty Sewing Machines for Leather
I have selected 4 different heavy duty sewing machines which are perfect for working with leather. All of these machines are available for purchase in the UK.
Janome 423S

The Janome 423S is a powerful and very robust machine. It has a metal frame which won’t warp like plastic-bodied machines, so you can be sure it will remain stable when up against thick materials.
It offers a total of 24 stitches, including a 1-step buttonhole, and has adjustable presser foot pressure, which will help fine tune feeding leather through the machine.
Other benefits of this machine include the fact that it comes with a hard cover, and has a built-in needle threader.
Janome HD2200
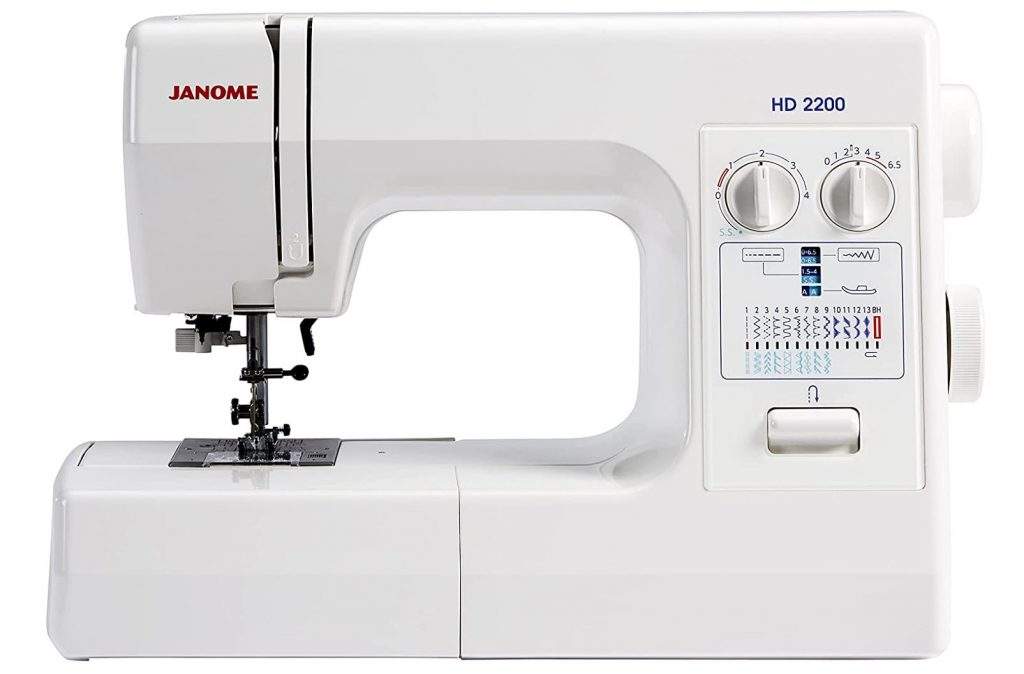
The Janome HD2200 is similar to the 423S in many ways. It also has a sturdy metal frame, adjustable presser foot pressure, and a needle threader. It has a total of 22 stitches.
The HD2200 has the upper hand in terms of power though. It packs more punch that the 423S. It is slightly more expensive though. Read my detailed review
Singer Heavy Duty 4411
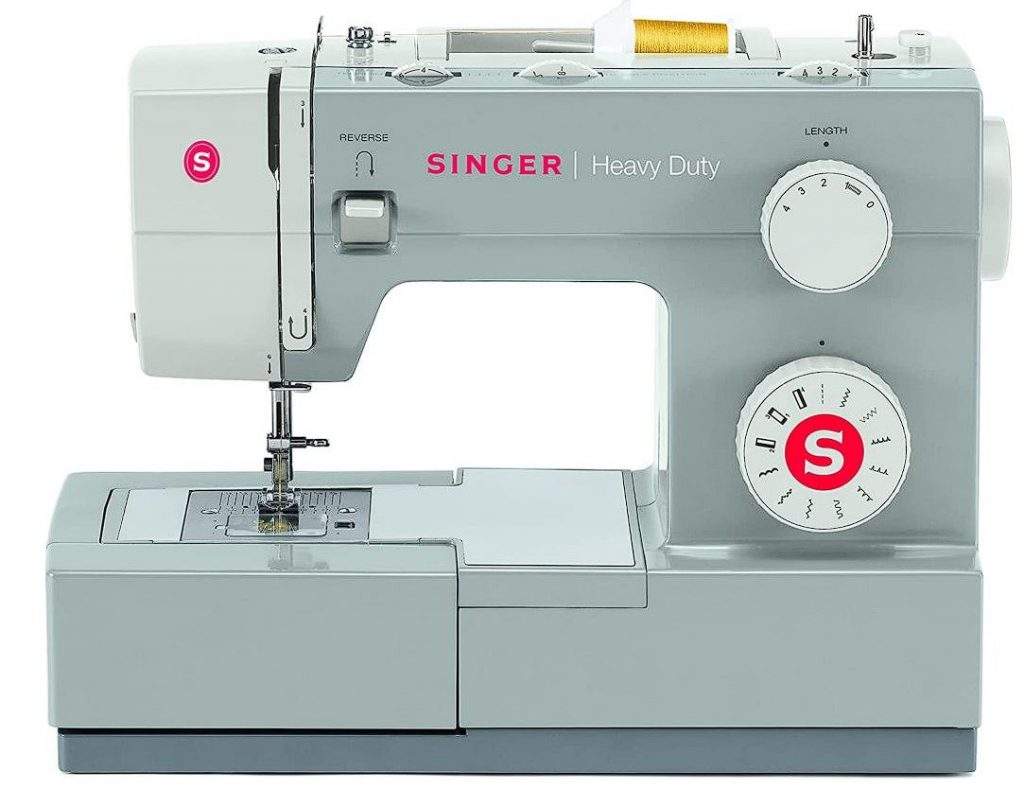
The Singer Heavy Duty 4411 is a great machine which is certainly powerful.
It only has 11 stitches, which some may consider a drawback compared to the other machines. Bear in mind though that when working with leather you will mostly be using straight stitches, and are unlikely to need decorative stitches at all.
If you want a few more stitches in your arsenal though, the next machine might be more suitable for you…
Singer Heavy Duty 4423

The Singer Heavy Duty 4423 machine is very similar to the 4411 model. However it has a total of 23 stitches, adding 12 that the 4411 doesn’t have, which are mostly stretch and decorative stitches. It also has an automatic needle threader, which is missing from the 4411 model.
Tips for Working with Leather
I thought I would finish this article with a couple of valuable tips for working with leather:
- Measure everything twice! Cutting something to the wrong size could be an expensive mistake!
- Pay close attention to thread tension. If your stitches don’t look right, thread tension is likely to be the culprit. Perfect your thread tension by testing on scraps first.
- Use longer stitches with leather. If your stitch length is short you will be perforating the leather too frequently, which could weaken it.
- If you just want to practice working with leather or are working on a small project there’s no need to go out and buy a full leather hide. You can buy scrap bundles relatively cheaply online. It pays to shop around too!
- Depending on your project, hammering the seams with a rubber mallet can set them into the leather and give a nice finish.
- You cannot use pins to hold your pieces of leather together whilst sewing, as they would create permanent holes. Instead you can use double sided tape, clips or leather glue. Using clips is my preferred option as it is the least messy. You can even use paperclips in a bind.
- Use a leather marking pen or chalk to mark your leather, as this won’t leave a mark.
- If you’re not used to working with leather, take it slow in the beginning to avoid making mistakes!
Well that about sums it up. Let me know in the comments if you have any questions or anything to add!


